Thursday, November 18, 2010
Sides were sprayed with clear.
We sprayed the sides with a flat finish clearcoat made by Xtreame, part number 5165.


Friday, October 29, 2010


Wednesday, October 27, 2010

Wednesday, October 20, 2010


Monday, October 18, 2010


Thursday, October 14, 2010
Preview of what we hope our paint job will look like.
This is what we are hoping our paint job on the trailer will look like. We are building more of a hunter's edition using stencils purchased on Ebay.


Monday, September 20, 2010
Primed and Block Sanding
We are back at it and have the trailer in primer and are in the process of block sanding the primer.

Friday, June 18, 2010
End of another school year.
We didn't quite make it this year so please check back in September as we finish our second trailer.
Friday, May 21, 2010
Drip Rail
Tommy and Shane are nailing the drip rail on. This will help protect any water from getting in through the doors. 


Wednesday, May 19, 2010
Sealer
Jake and Seth are applying Clear Penetrating Epoxy Sealer to the roof and sides of the trailer to protect it from any moisture getting in. 


Friday, May 14, 2010


Friday, May 7, 2010


Cooler Drawer

Thursday, April 29, 2010


Cabinets


Wednesday, April 21, 2010


Tuesday, April 13, 2010
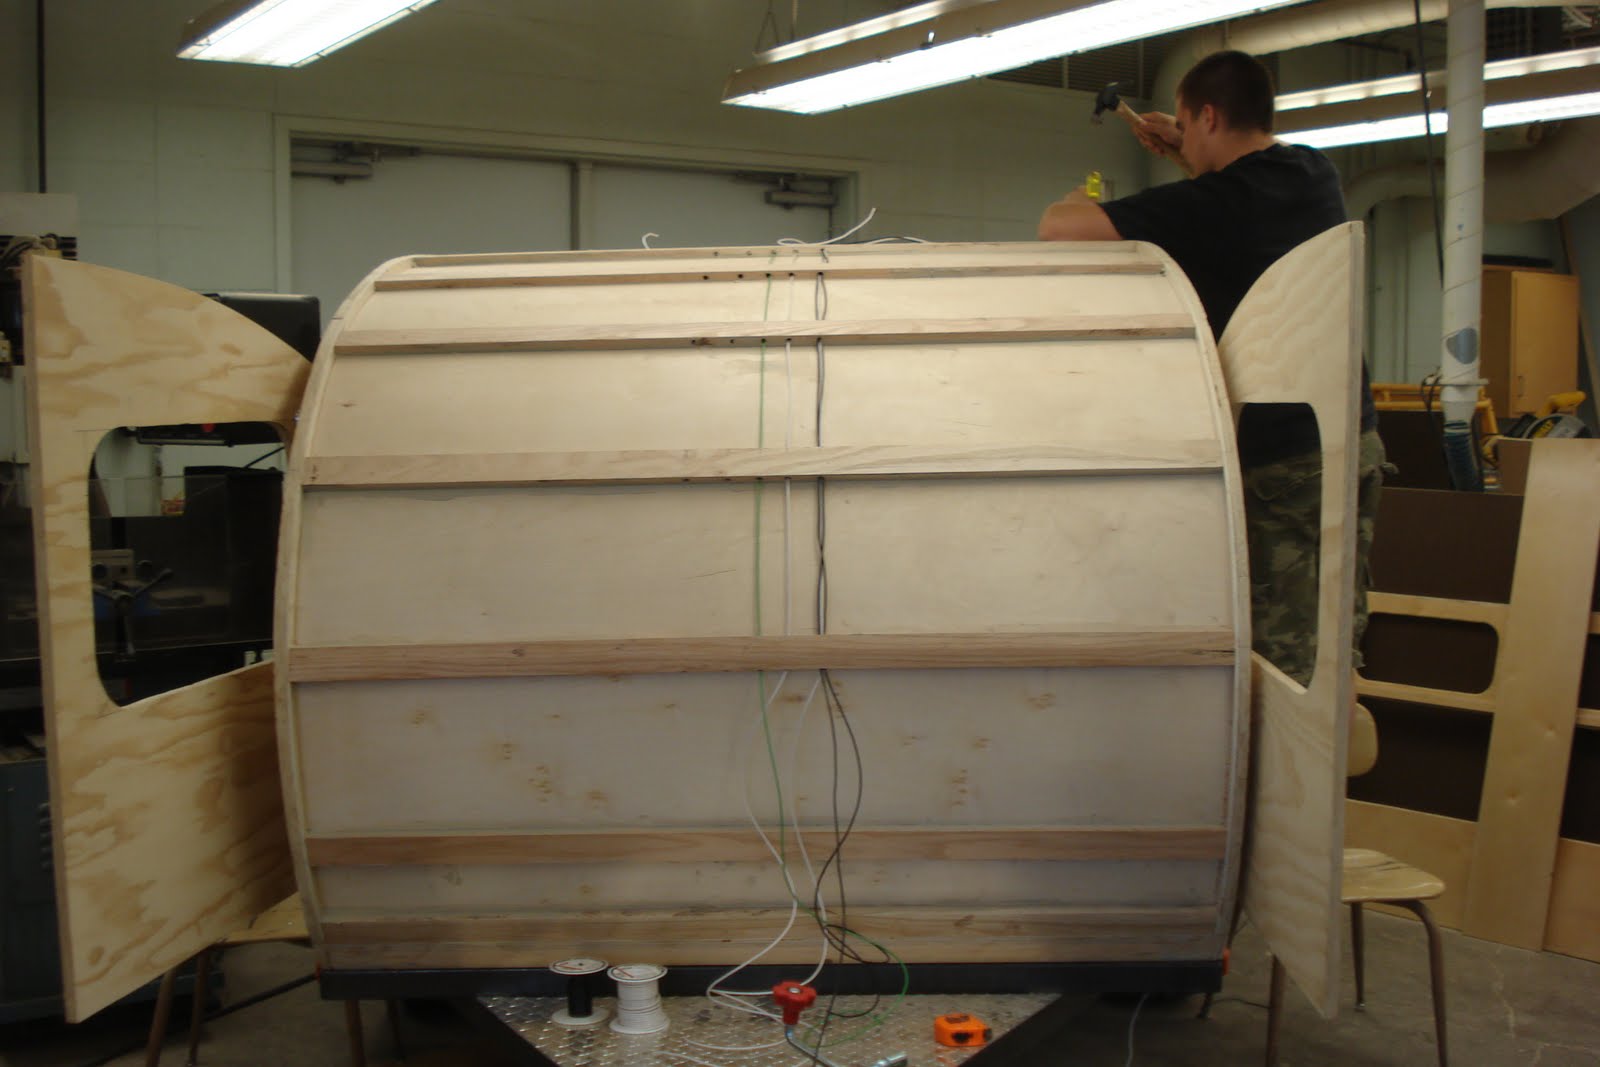
Wiring
Tommy is working on the wiring that runs to the outlet boxes at the rear of the trailer in the kitchen area.

Thursday, April 8, 2010


Thursday, April 1, 2010
Shelf frame
Mike is spraying the Frame for the shelves with a clear coat finish.

Shane is sanding the frame.


Shane is sanding the frame.

Thursday, March 25, 2010
Hatch


Tuesday, March 23, 2010
Brackets for Stabilizer Jack.
Shawn cutting brackets to mount the stabilizer jack with the plasma cutter.
We have mounted the stabilizer jack.


We have mounted the stabilizer jack.


Monday, March 22, 2010
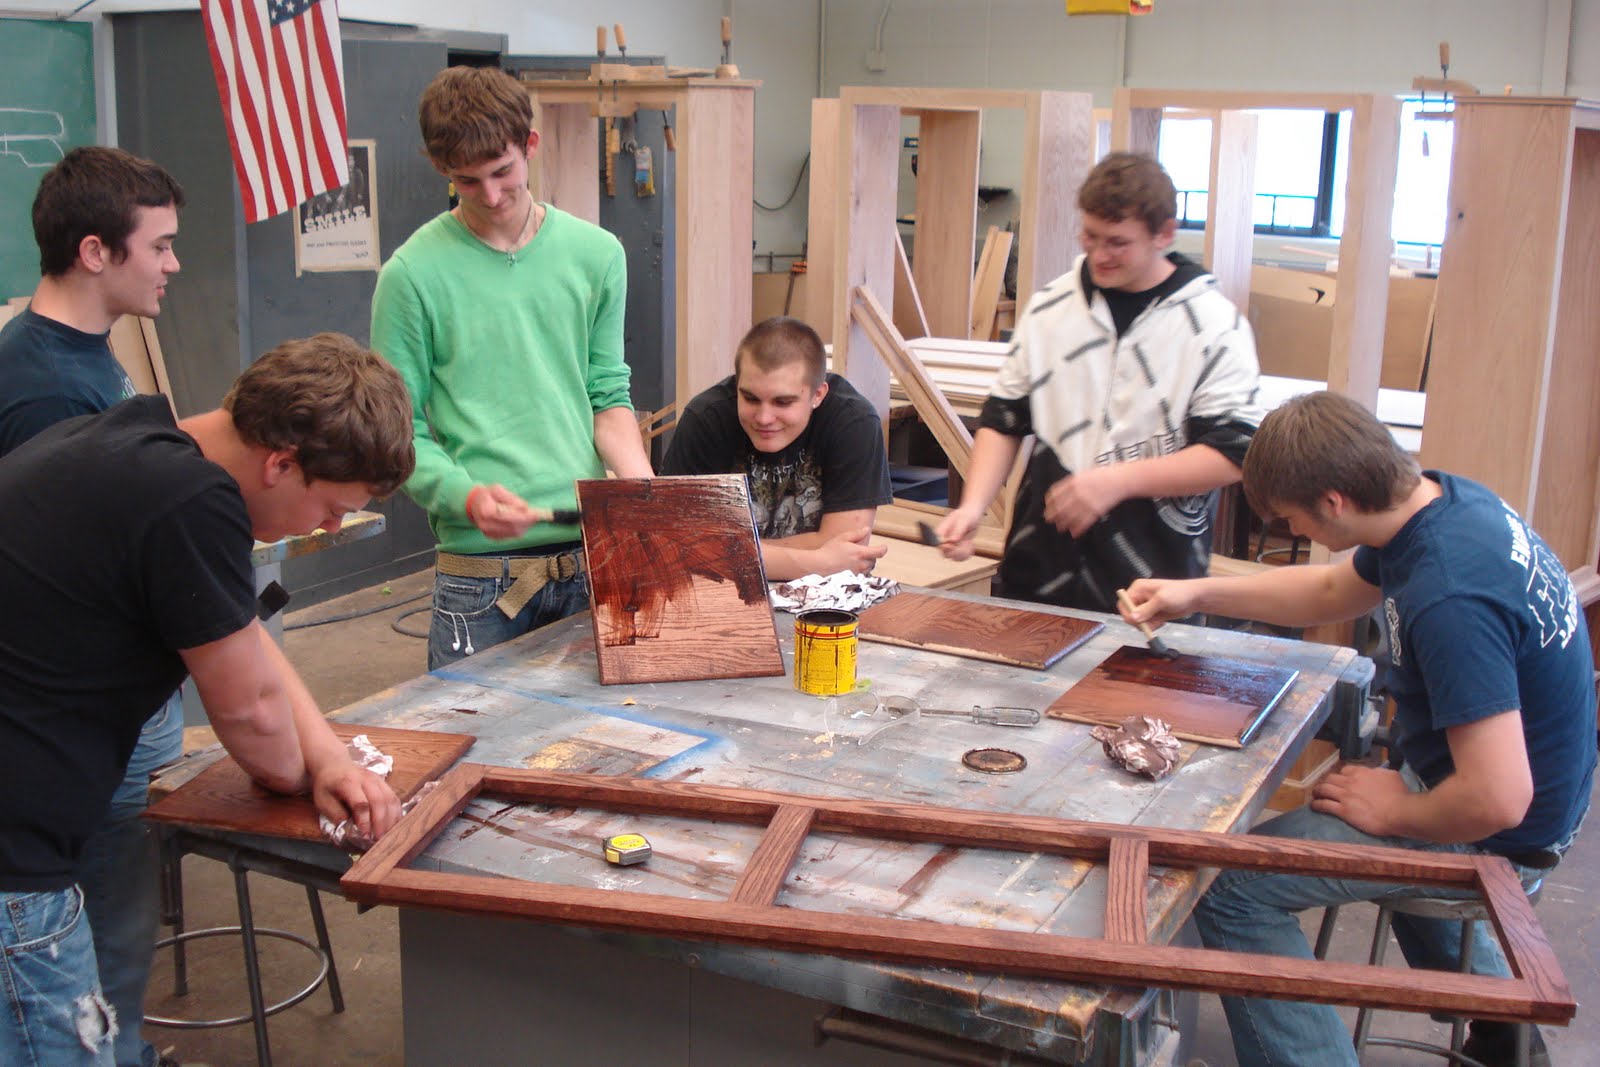
Cabinet Doors
Here we have glued and clamped 3/4" thick pieces of scrap wood together for the cabinet doors.

Friday, March 19, 2010

Door Frame
Scotty and Shawn are sanding the areas where we used the plastic wood to cover the nail holes. You can also see that we are beginning to piece the door frame together.

Thursday, March 18, 2010


Subscribe to:
Posts (Atom)
